Maschinen Krieger Dark Snake Eye Paint with Lincoln Wright
Hey guys, the Dark Snake Eye processes and recipe is up including a new addition to our Ma.K Canon Paint List. I guess, Kow Yokoyama Sensei can't be wrong can he!?!
Video
Stealth "Space Black" finish. Hand brush AND Airbrush Mr Color COMBINED! Here's how I painted my Maschinen Krieger Dark Snake Eye scale model kit!

Here are the details for the 2022 Ma.K Comp
I’d like to thank my supporters on Patreon for paying me to film myself make plastic space man with a low grade fever! If you’d like to support the channel and get access to bonus videos then visit; https://www.patreon.com/paintonplastic
Thanks for watching,
Linc
Music by the one and only Robert T (yes one of my supporters!) and the track is "Alkali" https://robertt.bandcamp.com/album/alkali
Gallery


Script
Hey guys, here’s how I’ve painted up my “Dark Snake Eye” so far. Yep, the classic Snake Eye is a “Space White” finish as that is how the original was finished, I’ve always wanted to do a Dark Stealth version and in this video I’ll share how I've painted it up, join me!
The Snake Eye strikes me as one of the most advanced and streamlined of the Mercenary Armed Forces space combat suits so I’ve worked to push that theme along and perhaps share some ideas you can also use to make it your own.
I do also have a Prowler project coming along soon and will show you an interesting contrast with this one. That will be fun!
Just before we start, I’d like to give you a heads up on the Paint on Plastic Ma.K Comp 2022, just under a month to go with the submission deadline being midnight March 31st AEDT.
We’ve also added one more judge alongside Kow Yokoyama Sensei, the property creator, Max Watanabe Sensei, the legendary modeler and Japan Sensei and myself, “I’m just plain yogurt” Lincoln Wright.
Bryan “Maschinen” Krueger has kindly joined us. Bryan brings rich experience with this genre and no doubt you have seen his excellent works on maschinenkrueger.com and may even be from the English language forum hosted there, yes I am too!
Before you jump on the comments button, no I am not getting “Krieger” wrong and it’s not a typo, that really is Bryan’s name.
Link to more details on my website in the description. Please join us and yes I am super excited with all of the amazing works coming in, very well done so far!!
The Build
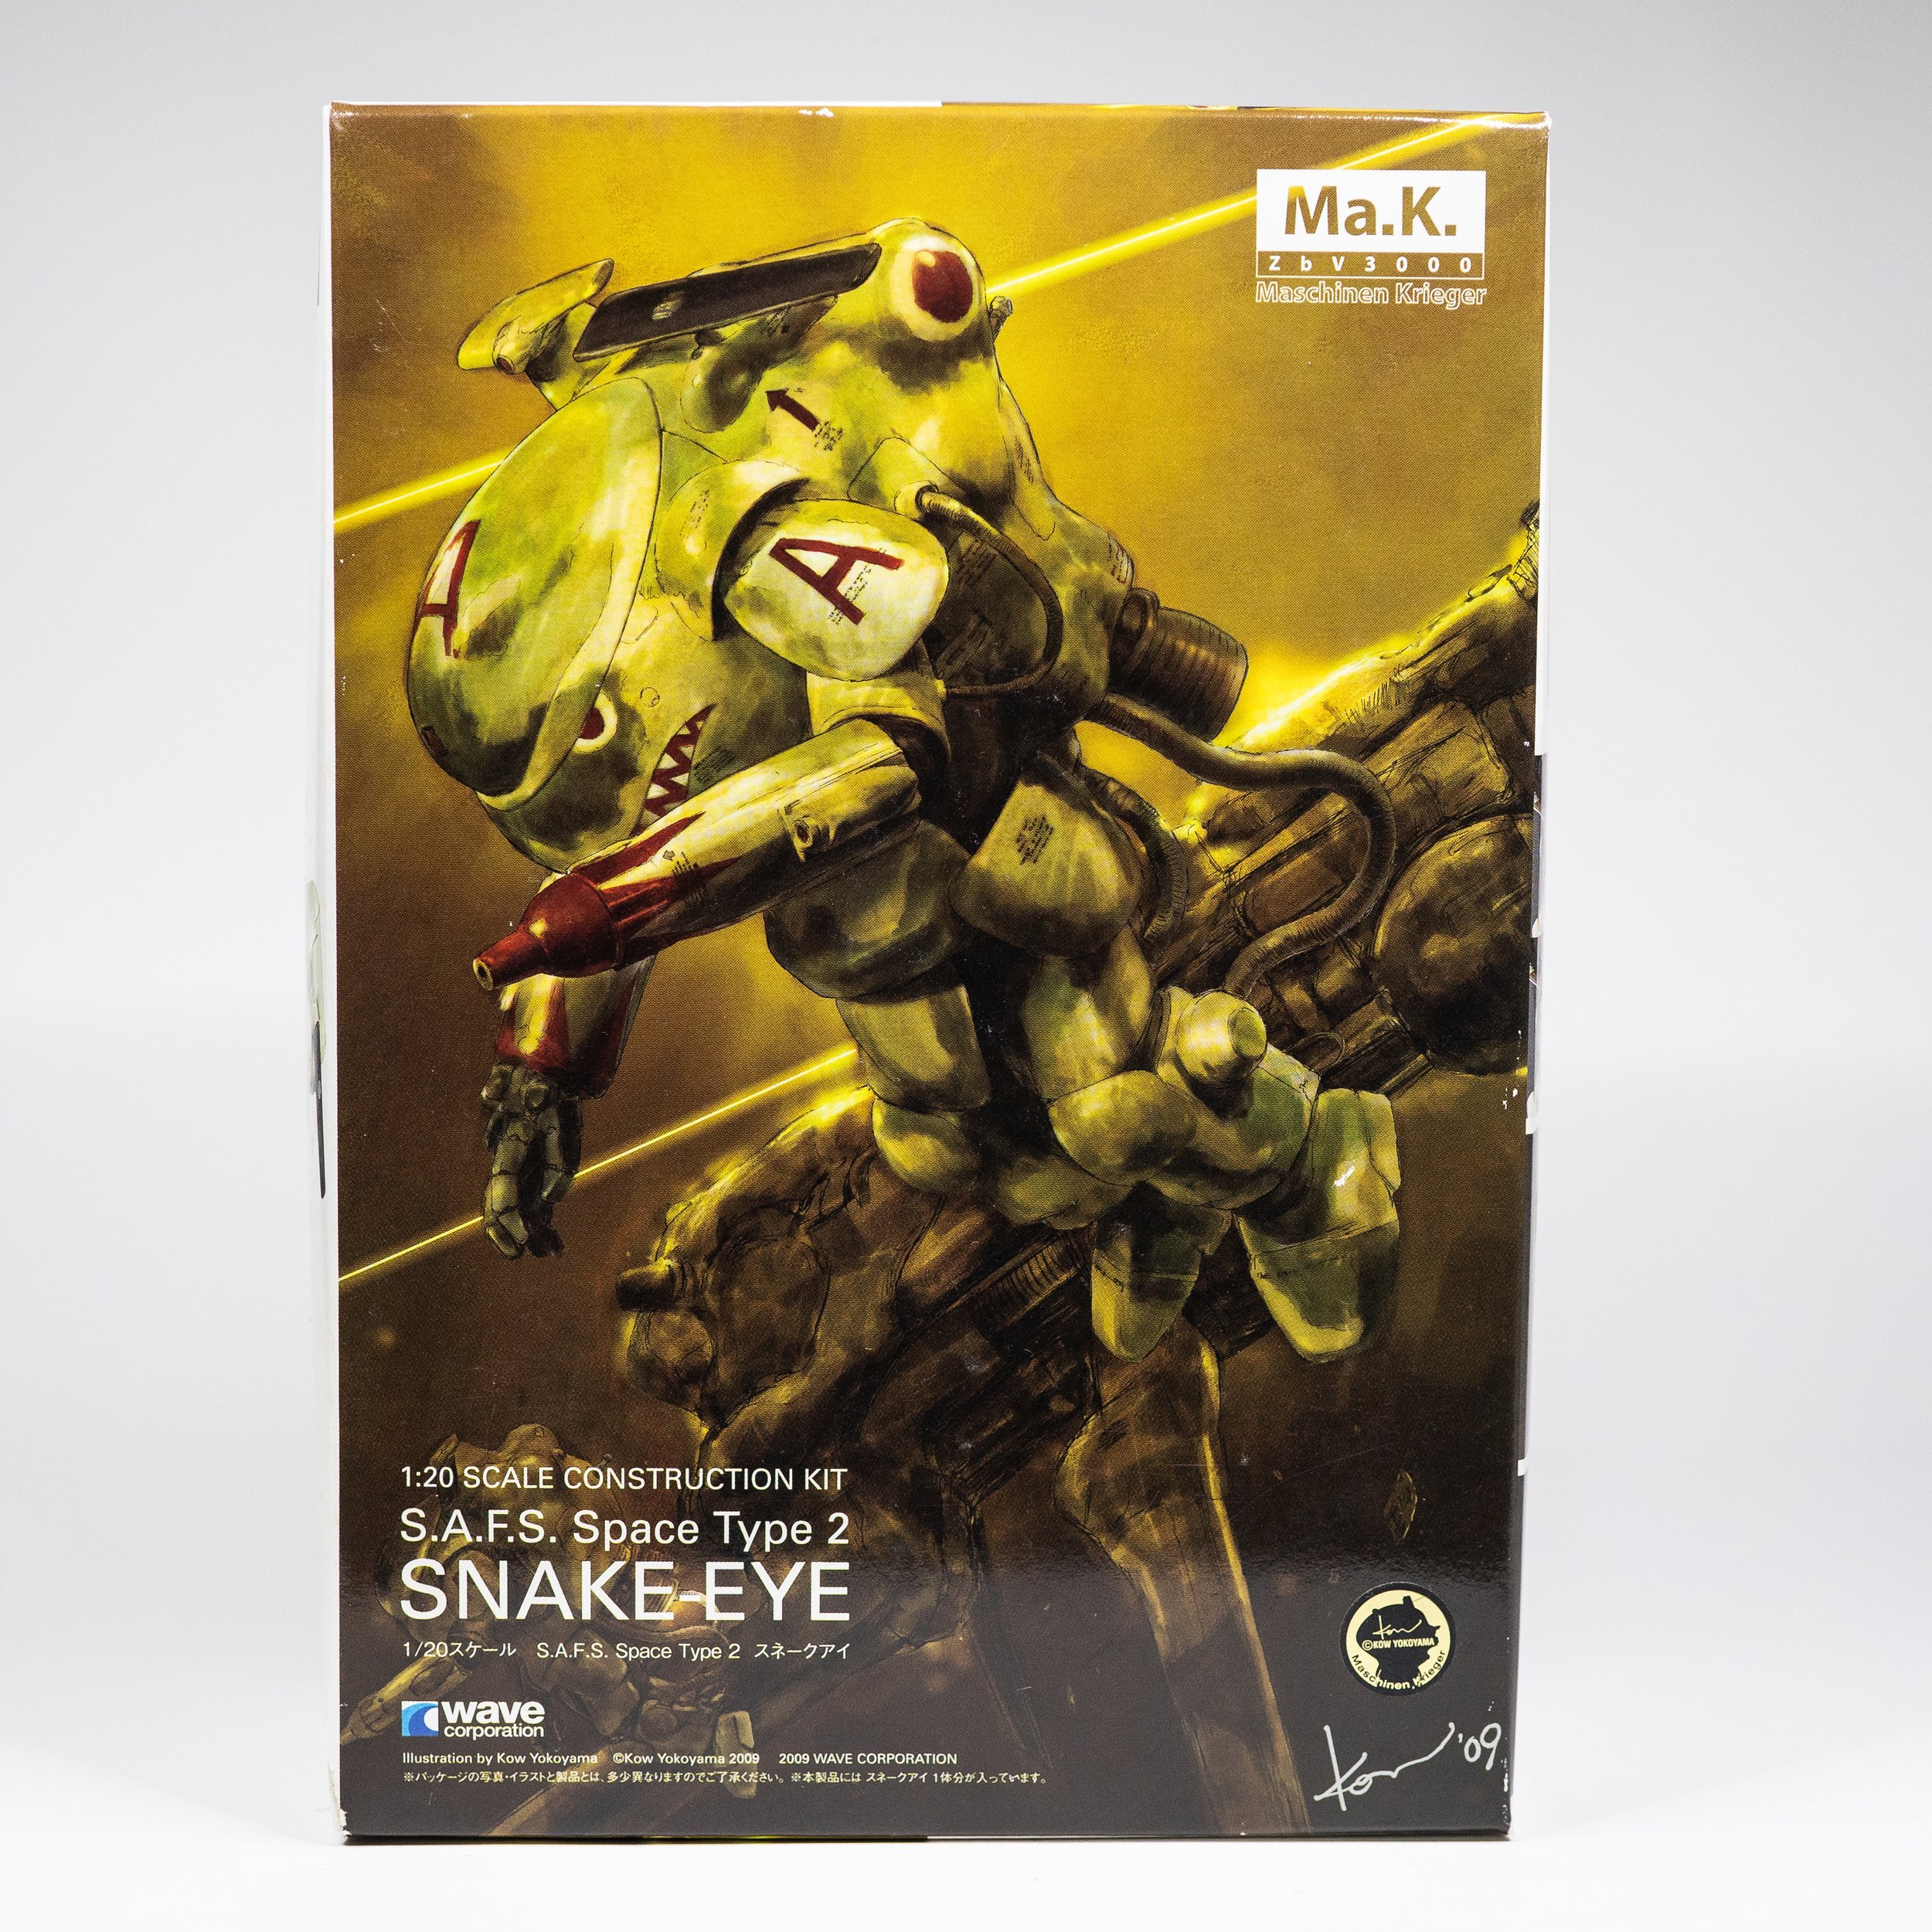
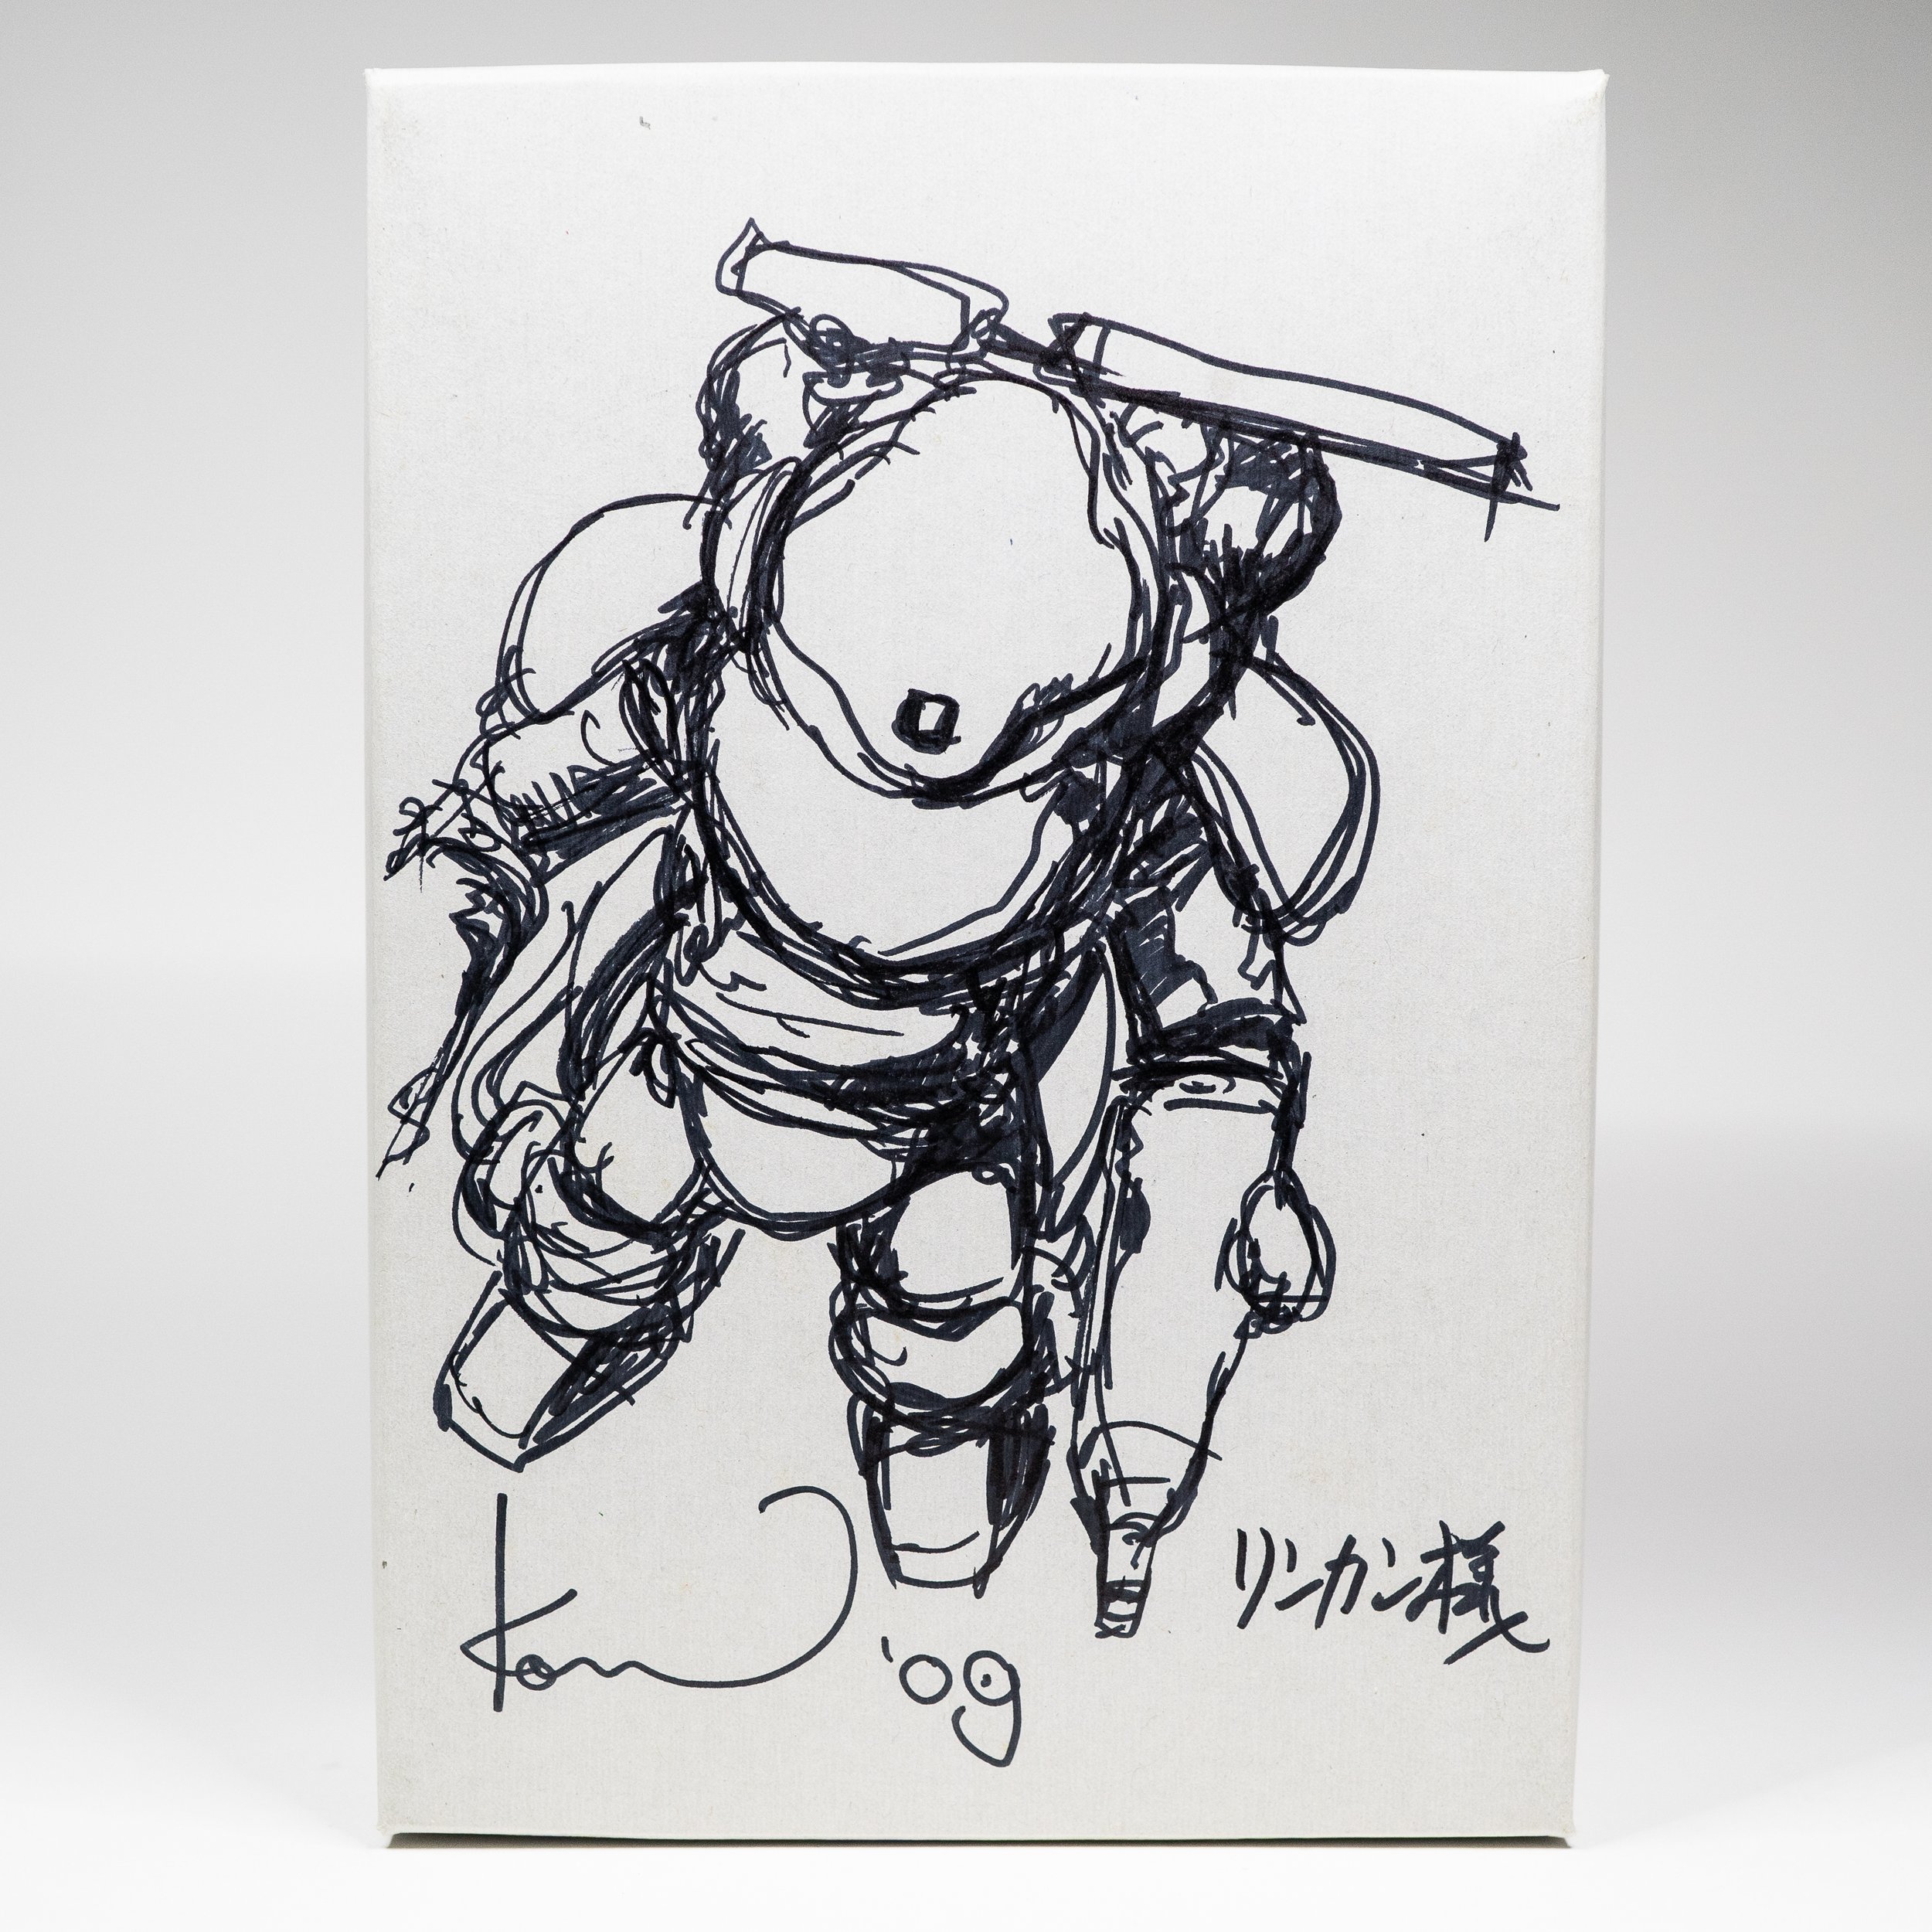
So much nostalgia but also perspective! This kit came out in 2009 and I was still quite new to both the genre and scale modeling in general. I was extremely fortunate to meet up with the community making these kits in Tokyo and even attend the celebration party for the release of the WAVE Snake Eye and see up close a large number of builds and finishes including both the originals by Kow Yokoyama himself as well as this latest iteration he made for the box art. He also presented me with this signed copy along with the 2 I purchased and completed.
Even looking back these aren’t bad at all, well done past Linc!
They were quite challenging builds for me back then as it has some seam lines to repair that have panel lines going through them. Yep, we all have the opportunity to start somewhere.
Well I am saving this one from its box and felt it an important kit from my history with the genre to include in a new book that I will explain more of soon.
This time the build was pure joy and fell together easily. I remembered how much I love these WAVE kits and all too soon it was complete. I did add some tiny modifications in how the hoses attach to the back of the feet but otherwise kept it very simple and clean. This is my theme for this model, to show off a very advanced and cleanly made stealth version of the Snake Eye, no additional parts welded on. I imagine it comes from the factory in this configuration.
I did have some trouble when taking this photo set of the build, I thought I had recovered but was still suffering from a low grade fever from a certain virus you may have heard mentioned recently and didn’t notice I had the boots on the wrong feet… if you notice some other slips in the video do forgive me, I’m still recovering. No worries though, I am doing fine thanks!
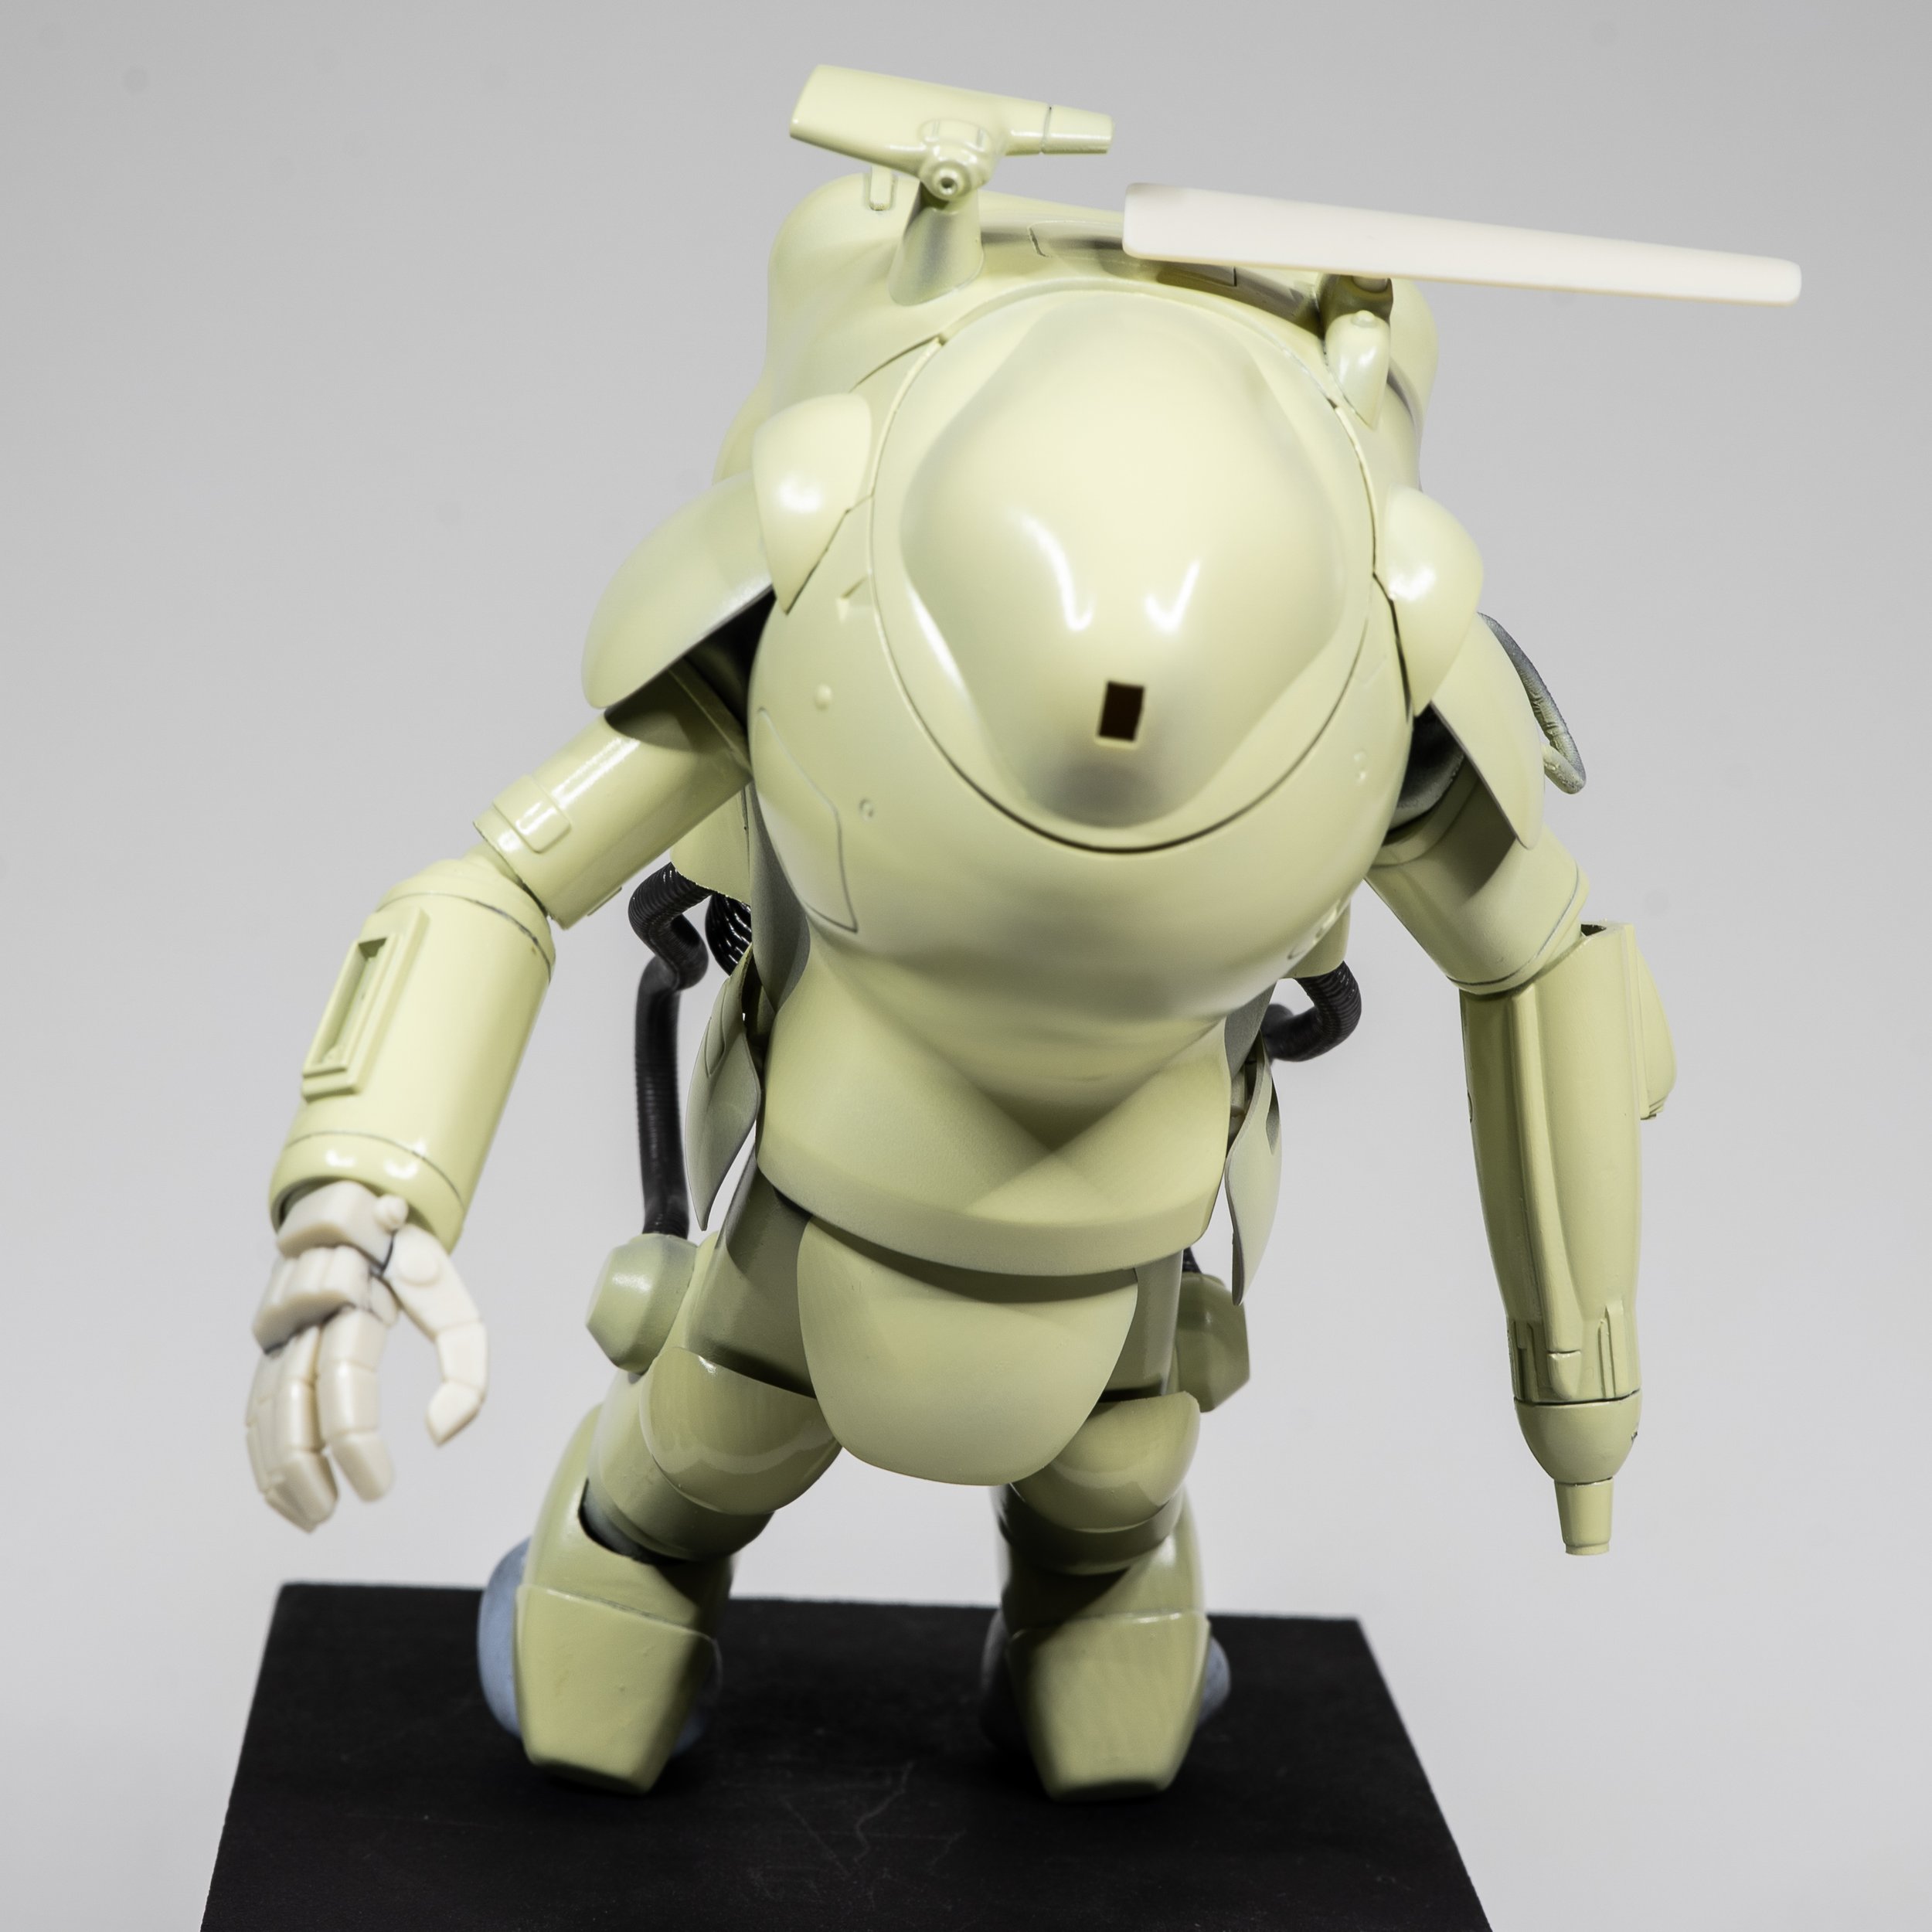
Grey Primer
Even though I mentioned how much easier the kit went together compared to 13 years ago, I still wanted to make sure I had cleaned it up properly. I mean, I’m not even putting the feet on correctly, what else have I missed!?! I was seriously a little worried at this point.
A nice and simple way to do this as you know is with a primer and I was feeling like using a nice neutral grey, so Gaianotes EVO Grey just like on my Lunadiver but this time via Airbrush. Yep, we can substitute Mr Surfacer 1000 for this too as it’s more widely available.
I did spot a couple of places I missed and quickly fixed them Tamiya Basic Putty and moved onto our base color.
Space White
Yes my idea is “Dark Snake Eye '' but please stay with me, I hope it makes sense! I planned to try out a new color for the dark stealth scheme and knew the white would wash out quickly against it so added a little more yellow for fun. This is also my first time to show you the proper canon recipe, actual Mr Color 04 Yellow instead of the RLM version I’ve been using for a while now. The difference? None that I can actually see! It’s mixed into Mr Color 69 Off White and the ratio is meant to be 95% Off-White to 5% Yellow. I honestly think it’s more like 2 or 3% yellow because it’s such a powerful color but who am I to argue with the instructions sheet?
Now just for laughs, how is this? Despite needing the paints in the ratio of 95 to 5 I of course accidentally added TWO Mr Color 04s to my recent order. The color I need LEAST of… not the Off-White that I use ALL the time.
Ahh modeling, you got me again!
Anywhos, my retail fails aside it’s a beautiful paint no matter how much I don’t need more yellow.
I’ve added it to this little jar I keep and just adjust it each time, adding a little more yellow or for next time, probably just more off-white. It’s such a lovely color to work back and forth with and with an airbrush mix of around 60% self leveling thinner, it airbrushes on silky smooth.
You can see I’m airbrushing it on slightly wet, it’s a full gloss paint and will dry smooth as and I really enjoy that with the space equipment. It just feels “correct” to me but you can experiment with your own looks and textures too, I’m excited to see what you do!
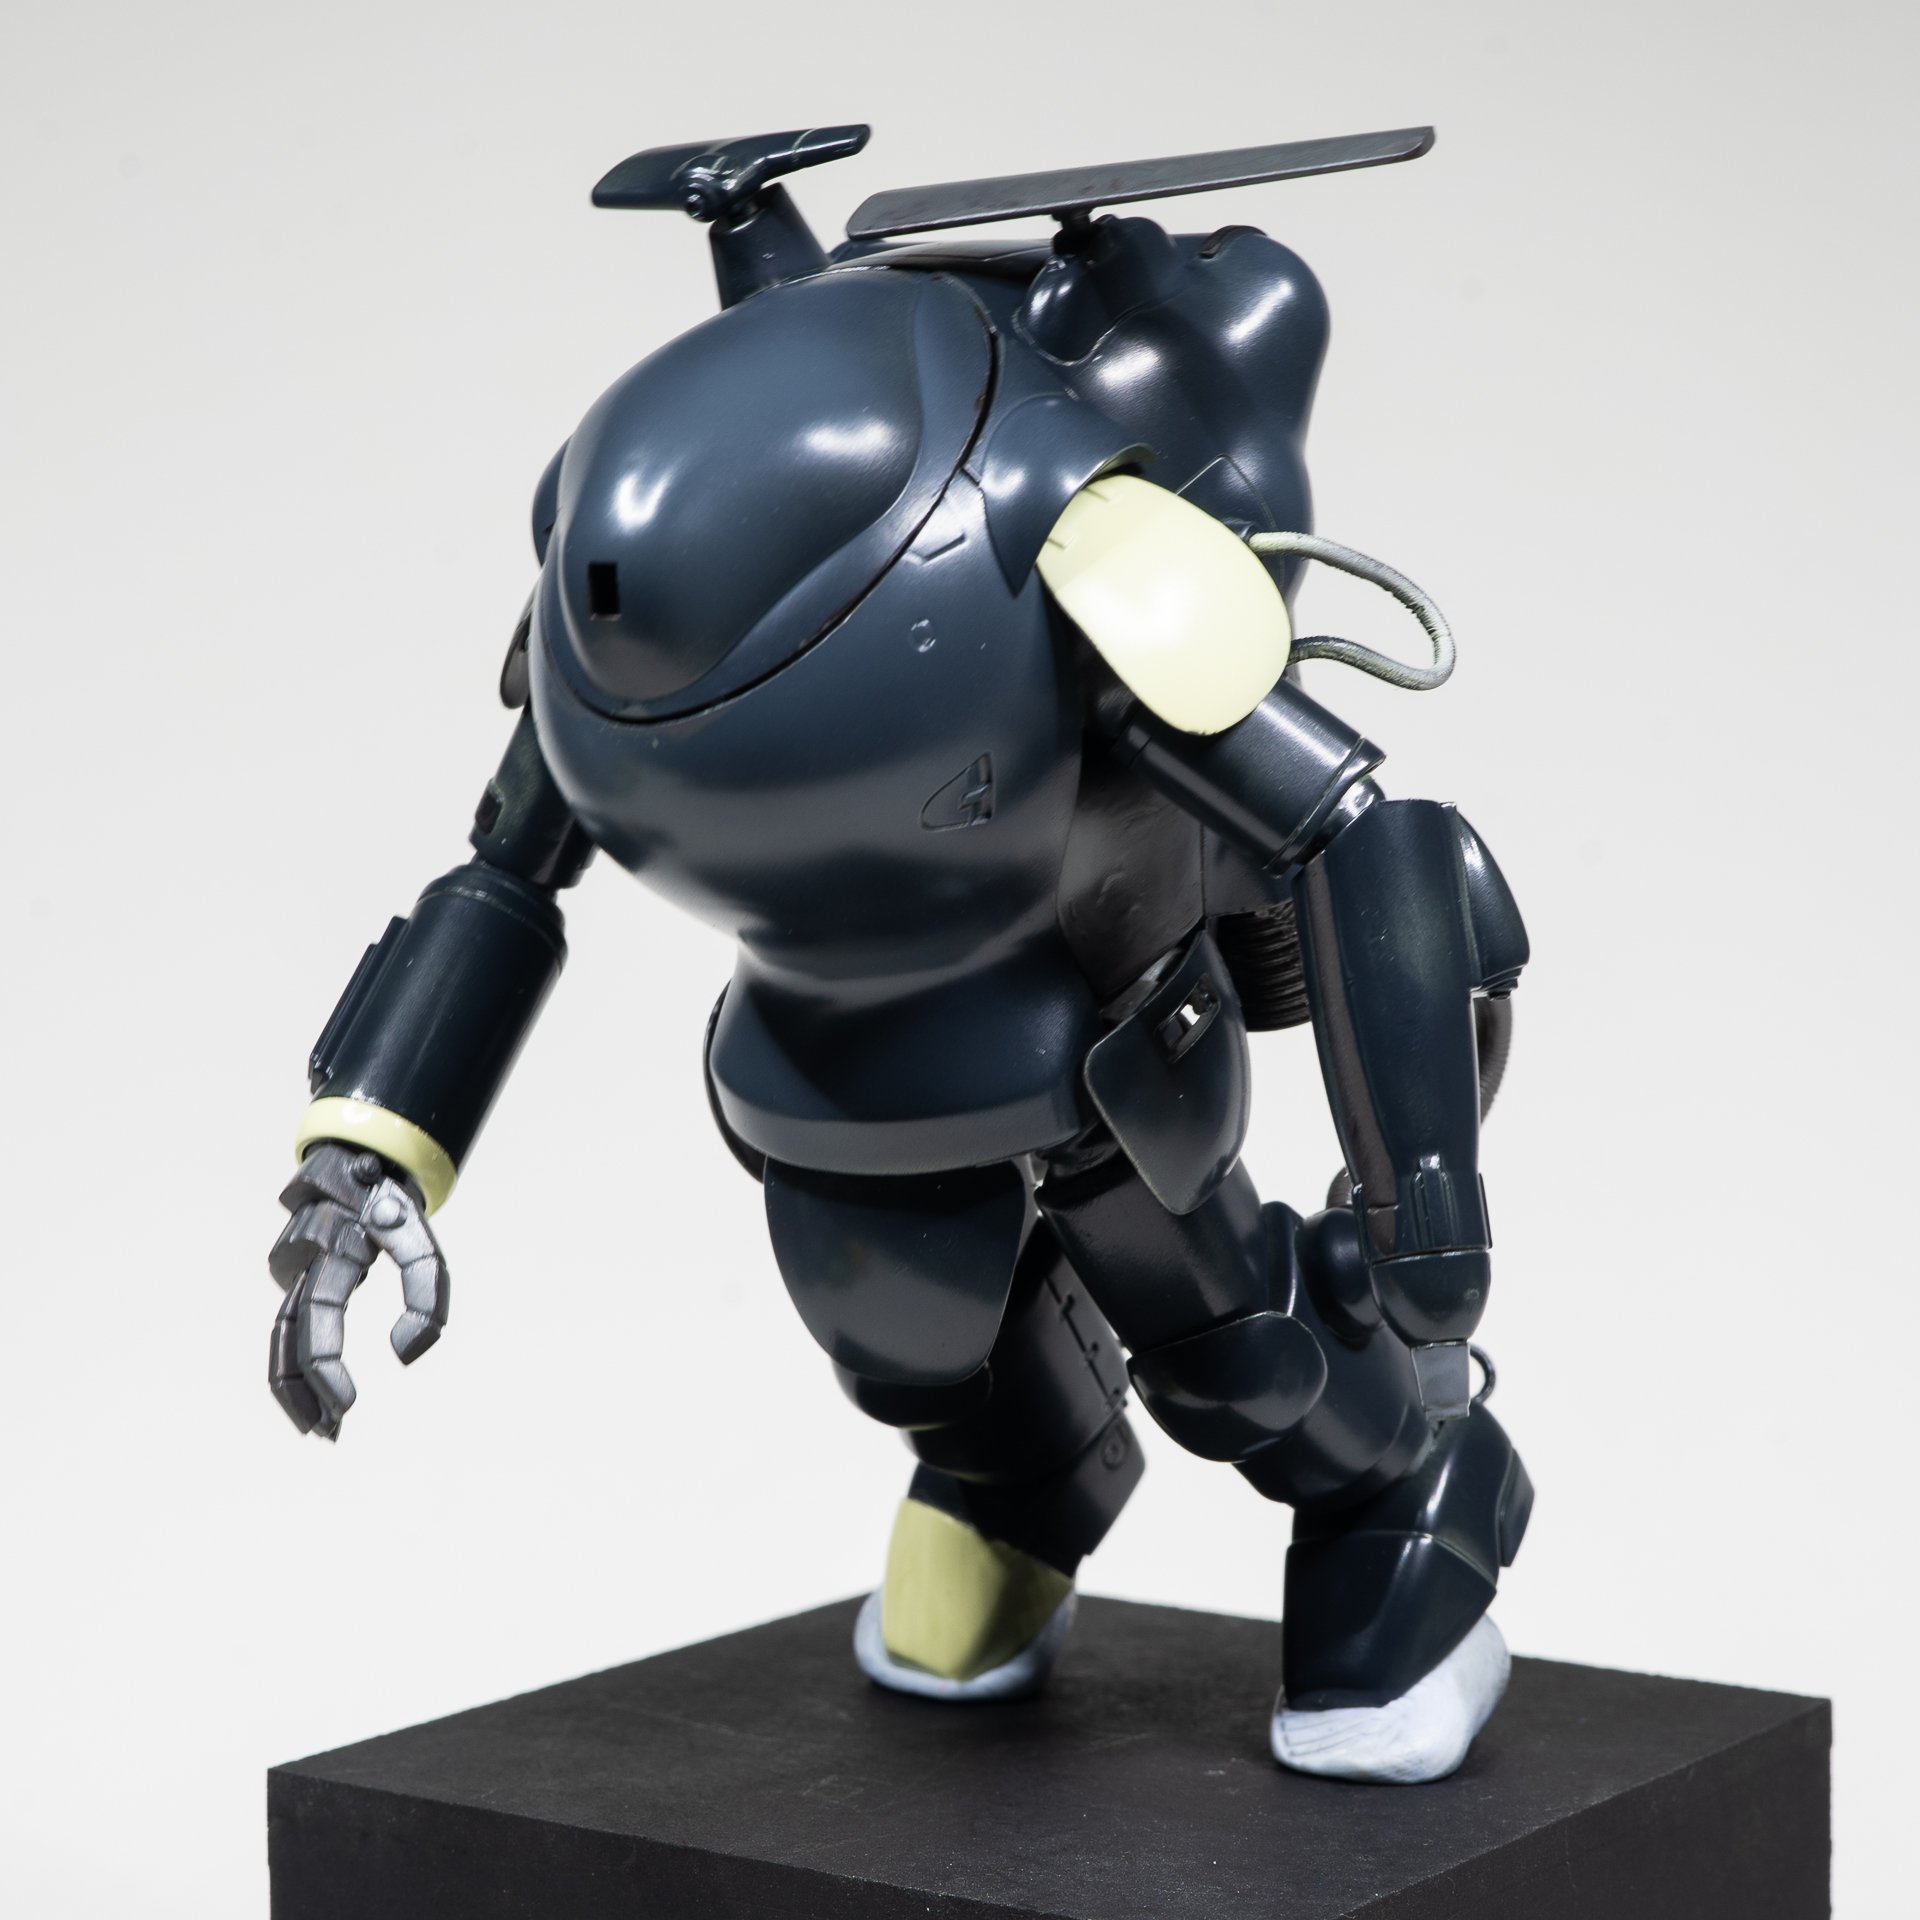
Main Color Coat
Errrr….. “Space Black!?!”
It looks like we might be able to update our top Ma.K canon color list with this beautiful paint, Mr Color 125 Cowling Color. May we be cheeky and call it “Kowling Color”?
I’d noticed and remarked to Kow Yokoyama Sensei that I really liked his blue tone camo colors and patterns on recent re-releases from Hasegawa, in particular on the 8 Ball Camel and the 3rd version of the Luna Diver.
That’s it, it’s Mr Color 125 Cowling Color and in true artist fashion I suspected he’s worked it into his repertoire as a main color and then intermixed it the other classics to make these new looks.
Here’s where I test it out for us and yep, it’s magnificent and a must get for our paint collections.
It’s very dark neat from the bottle, in fact very close to the custom dark navy I used up for my MG Jesta kit but simpler and somehow nicer. I’m immediately impressed with the vibrancy of the color despite it being very dark and immediately want to redux my Jesta now. Why couldn’t I have learned this 3 models ago right? Oh well!
I’d like to use this straight on a future model but instead this time I want to test it by adding my space white mix to see how it brightens and to bring the colors together and also for adding in brushed highlights.
Of course, it’s a win and produces a beautiful color, it’s even nicer than I hoped and I feel that Sensei is still sharing wonderful things with us and I hope you enjoy my passing this little hint along too. It’s not a color I would have even noticed before, just something I would ignore on the paint rack but it’s already a top favorite.
Mixing it by eye I’ve added maybe 5% space white to the cowling color and then a couple of squirts of thinner. Mixing it with a soft brush and letting it run down the sides of the dish to eyeball the transparency to make sure it’s airbrush ready. Never drink skim milk that looks like this but it would probably airbrush just fine. Mr Color looks about this when it is between 50 and 70% paint to thinner mix. Get close and it will work beautifully, it’s a very forgiving paint.
Now airbrushing it over the space white and I am not disappointed, it’s absolutely beautiful and even better than I had hoped.
This is a good time to mention this strategy in that by starting with a neutral color, the grey I was able to keep the space white quite bright which allows the development of a “bright dark color” which sounds extremely odd doesn’t it? Likewise, with my previous models of the Desert Pink Nixie and red and white Lunadiver, they are “dark bright models” with black bases. Even though we paint over our early colors, they can be used to establish the overall tone and feel of our model be it bright or dark. Making this a “bright dark Snake Eye”. Yeah, well done Linc, that makes complete sense… I guess….
You will also notice that this time I have forgone any kind of chipping solution shenanigans. No no, I love such shenanigans and had also considered using a hairspray or silicone based chipping solution but instead kept it more simple and unique to give you another way to go about it.
I want to test out how opaquely this color sprays whilst very thin and then do some physical abrasions as is, just to give us a base line for this new to me color. We can always add additional steps on future projects right?
Masking Solution
Do forgive me one complication, I used some masking solution to make one boot space white. For this finish I’d like to combine the concept of ID bands and previous colors and simply leave 3 points of white around the model. A wrist element, one shoulder and one toe cap. There are no Ma.K based rules about this at all, it’s more of a visual art design choice here and we could go larger or smaller based on our choice. In this way, these Ma.K kits are great with their artistic freedom, they've taught me a great deal both when re-creating the classics, I mean there are very good reasons they are classics and for creating my own originals.
Wrist and shoulder were simply not painted over. Then I used an AMMO by Mig brush to apply an AK Interactive masking solution and giggled because they worked together just fine! Cheeky!
Lastly I mixed the remaining main space black color in my airbrush cup with a little more Space White to produce a final color and gently added in a couple of subtle points of highlight with it.
Nothing too harsh, just softly although I would love to be brave enough to do a forced lighting effect model one day! These are mist coats to gently abrade for a deeper paintwork effect which I will show you in the next video, so please make sure you have liked the video and subscribed so that the almighty algorithm won’t hide the goodness from you.
Handbrushing Hijinks
Now come on Uncle Linc, you know we didn’t come here to see you airbrush. Make with the hand brushing goodness already!
Alright alright, tough crowd tonight! Here’s something I learned really early on whilst experimenting with lacquer hand brushing and it was on a similar off white plastic kit and I’m happy to share. So long as I can still get it right…it’s been 14 years…no pressure…
Remember I babbled something about bright dark earlier? Well, I left these parts bare plastic to show you how I stumbled across this classic Ma.K paint move on my Fireball Stop Gap back in 2008, I think it was my first real swing at this style of painting and it turned out ok.
First step was to loosely base the off white plastic in Mr Color Propellor Color, a beautiful deep, dark red. I added it to the dish that I commonly add Mr Color Flat Black to, just going back and forth depending on the look I am after. It mixes to a fantastic, very dark black red and is perfect for the base color here. Applying it with more thinner than usual allows it to go on something between a wash and a base coat. Loosely sketched on.
I set these parts aside to dry and then come back with the dish I use for both Mr Color 37 and 116, that’s RLM Gray Violet and RLM66Black Gray. These are both classics for this genre and again, I just add more of one of them and skew the mix towards my needs that time. It’s both never exactly correct but also not exactly wrong either. They are both beautiful colors. I really enjoy how they turn out.
This is again loosely sketched over the propeller black mix. Yes it will intermingle with the previous application, sometimes bring up a nuance of the light edge or dark undercoat. Watch closely and you can produce an extremely nuanced and interesting finish simply by how much you load your brush and how long you allow it to linger on the surface to how much you re-touch the wet surface. With practice, you will learn how these paints behave and be able to anticipate and control the outcomes.
Whilst having these paints ready to go, they are also the canon colors to use on background details so I zoomed around painting the not so visible but important details. The inside of the armor plates, the closure mechanism up under the arms and some of the internap details that may be visible through gaps in the armor. Fast and simple.
Yes, we can of course also use water based acrylics. It might sound funny but I extensively used such paints exclusively as a warhammer painter for years and enjoy using them just as much. I’ve only shown you the previous step in lacquers in case you were curious about the studio look but I also used Citadel and Vallejo Game and Model Color on studio models as well but the Japanese company tie ups require us to give recipes in Mr Color.
Paint is paint and is only limited by our skill and experience so please use what you prefer, all good!
To this point, I knew this final step would look best in VMC 950 Flat Black. I love how flat and solid it looks, like some kind of vulcanized rubber coating. This was chosen to apply to a couple of panels, to both break up the overall color and sheen. Replaced covers somehow gives a great deal of life to little plastic kits so yes you will often see this in my work. I just really like it!
Is it good, well I can’t even put the feet back on right so I’m more happy to have completed the painting without disaster and am excited to get into decals and weathering next, will share that soon!
I’d like to thank my supporters on Patreon for paying me to film myself make plastic space man with a low grade fever. If you’d like to support the channel and get access to bonus videos then visit https://www.patreon.com/paintonplastic


Welcome to Part 2 of my MASKENBALL Weathering Masterclass—the ultimate guide to advanced scale modeling weathering techniques for Maschinen Krieger (Ma.K) builds!!