Jesta Gunpla Tutorial on Weathering & Acrylics Oil Paints Waterslides with Lincoln Wright
MG Jegan Full Guide
Hey folks,
Here's the full Gunpla Tutorial for my MG Jesta featuring "Weathering" or detailing as I'd like to think of it this time, using acrylics and oils, waterslide decals and mixing custom colors plus clear coats.
Start to finish guide, hope you like it!
If you prefer to read the script in your own voice rather than listen to me, I’ve included that below the video for you.
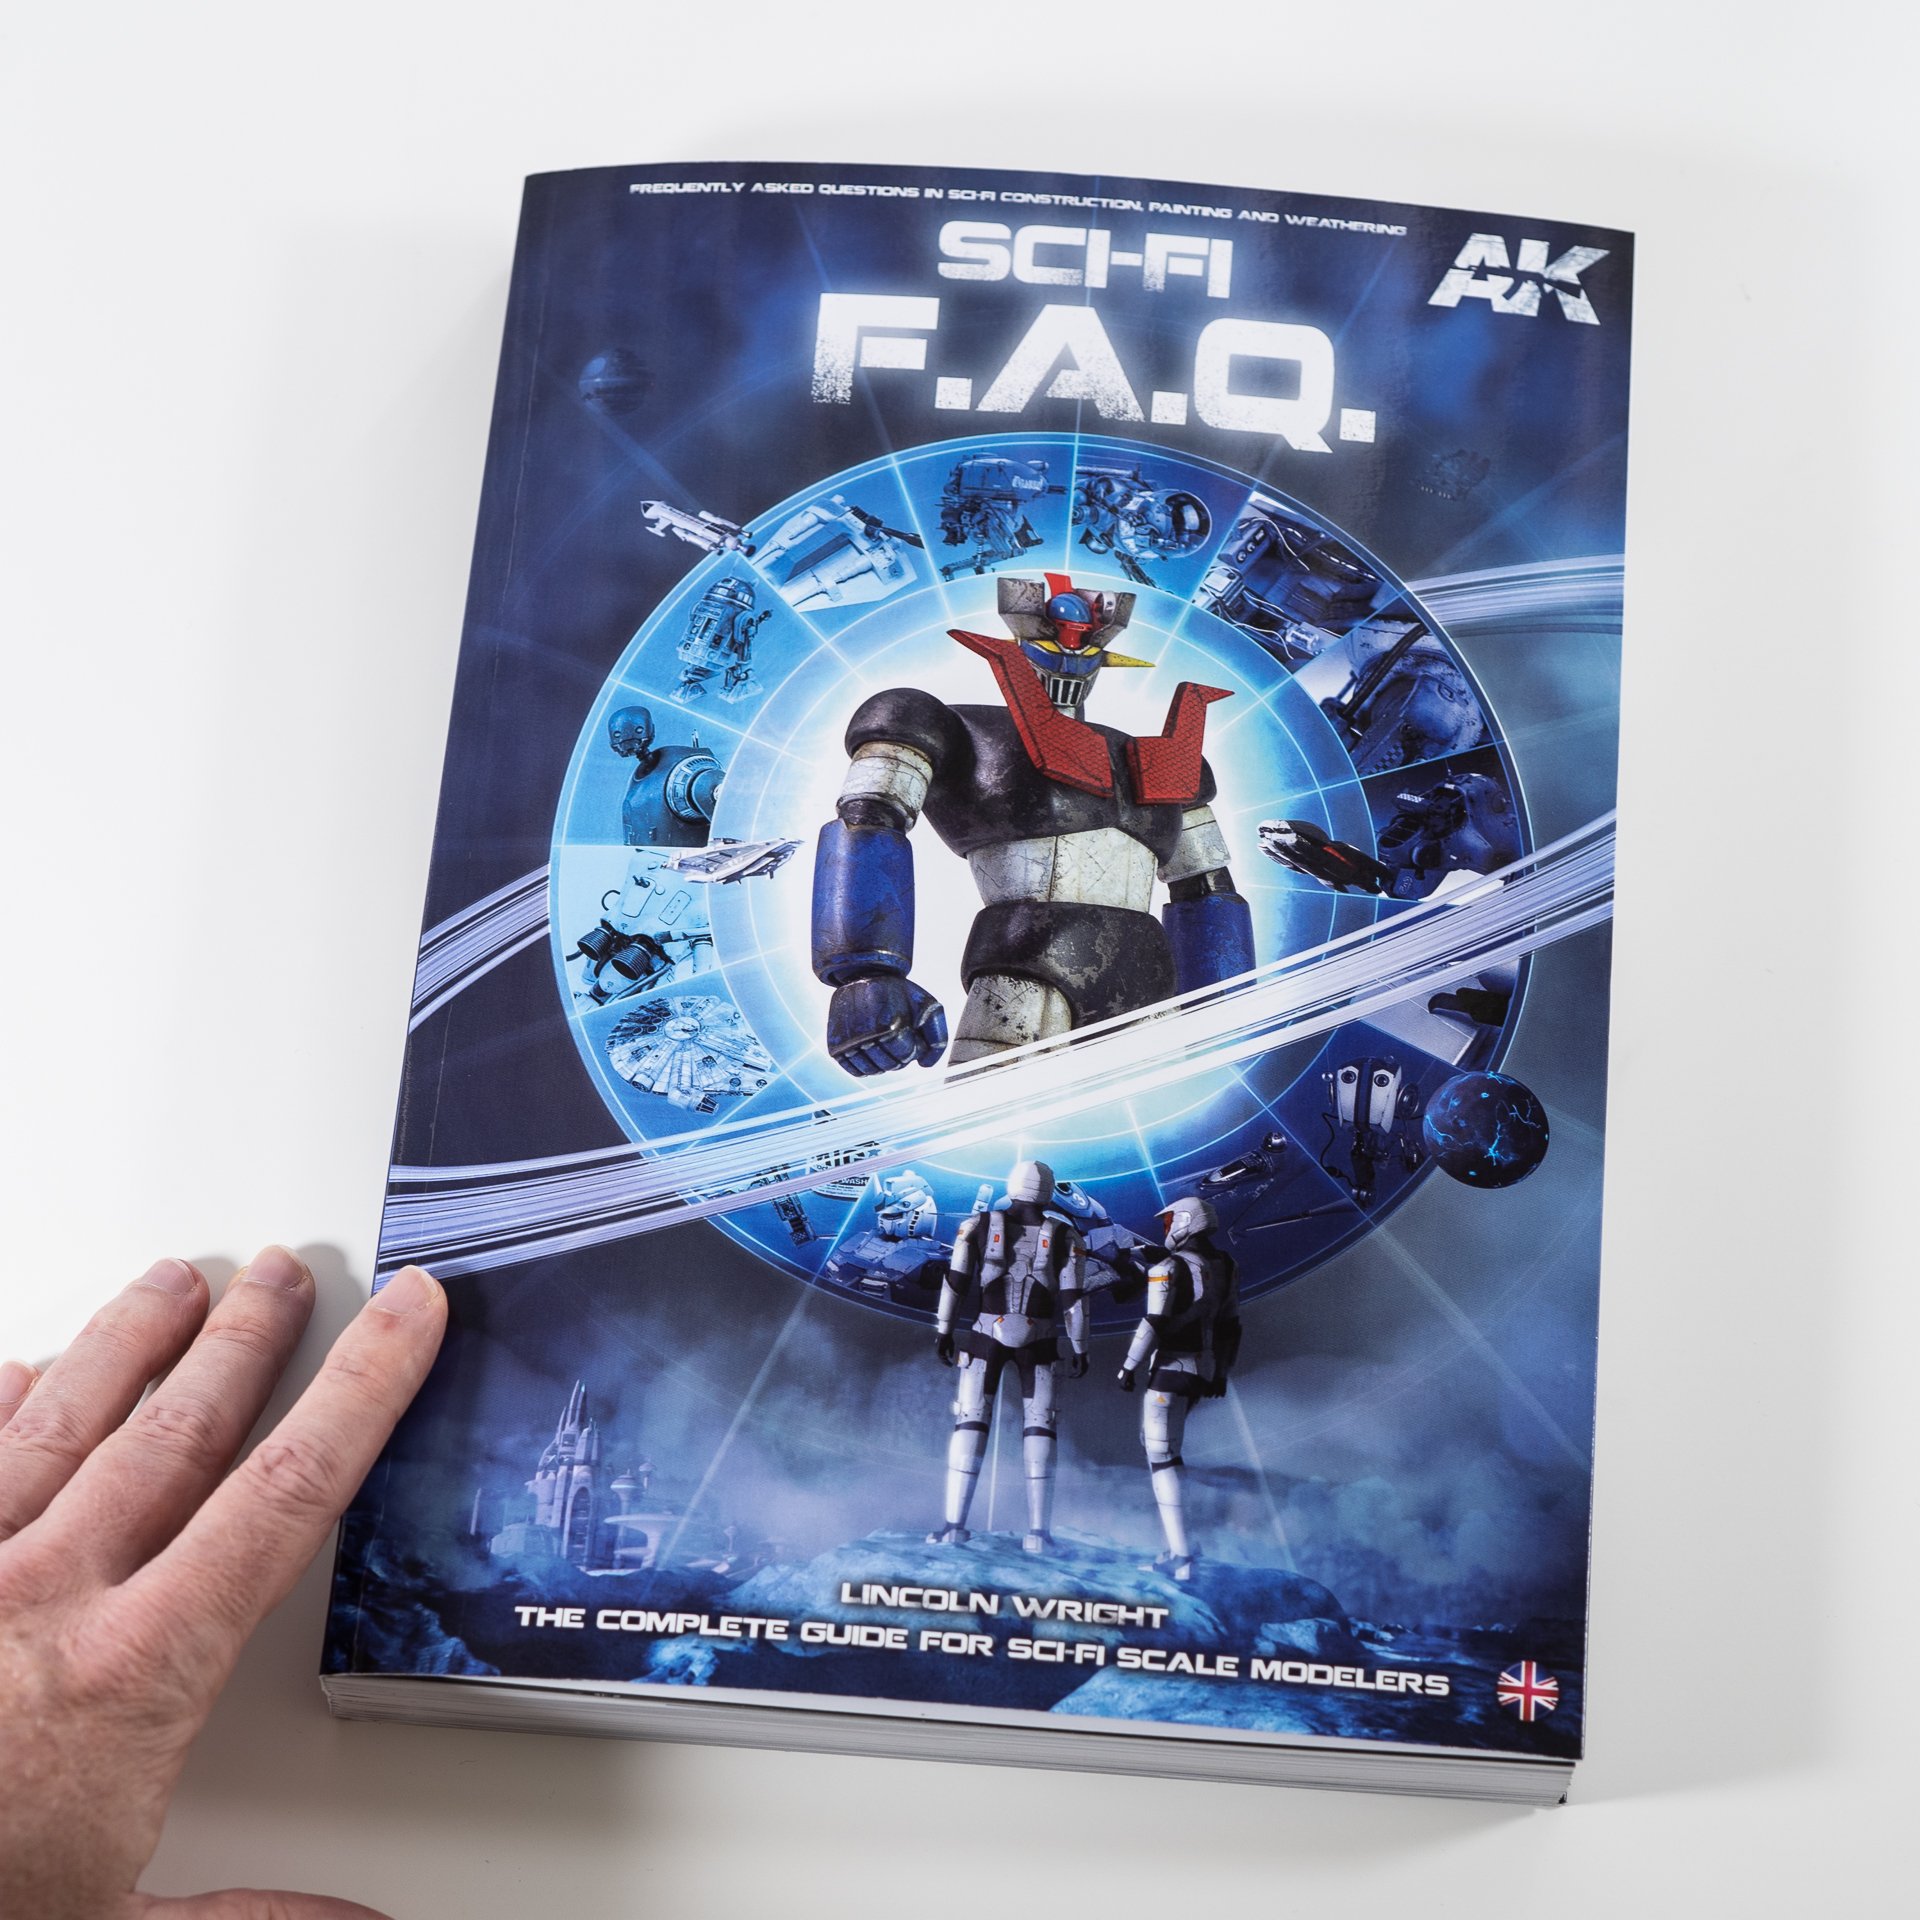
Gallery at bottom of page. Please note, this is a new model and does not feature in my Sci-Fi FAQ.
More soon,
Linc
Jesta Full Video Script
Opening
Hey guys, here’s how I painted my MG Jesta. Nice and simple, my vision this time is for a scale appropriate yet slightly exaggerated finish, imagine it’s made by some dude who loves military sci-fi finishes who just watched the anime and was inspired because that’s exactly what happened! I’m also keen to do further experiments with oils and acrylic paint rendering plus effects and this is a perfect victim, errr…. I mean, a wonderful canvas to try them out on!
Build
Just a couple of mods here otherwise straight out of the box. I wanted to improve the antennae as the kit version is quite bland, a simple upgrade here with a nifty little option from Hi-Q parts.
Paint
Nubs, so many nubs! This kit has quite a few places to clean up and because it’s meant to be a pretty small scale, at least for me, at 1/100 I wanted to make sure I did a good enough job in smoothing out the plastic so did use Surfacer paints to start. For those new to these products, a Surfacer is a thicker kind of paint that has a fine powder added that helps to heal and smooth over very fine scratches, especially if you airbrush it on with wet coats. A wet coat is one where you let the surface slightly wet out for a thicker and self-levelling application.
I used these different colors simply because I weirdly had 3 bottles with equally small amounts of paint left over. So rather than just use one color, I tried to use up these paints so that I could consolidate my workbench. Plus yes, of course, I had notions in mind of how my friend Max Watanabe does his color mottling base move, just completely different!
Not only does surfacer help to smooth and repair our surface, but the flat finish also helps us to see imperfections in the plastic and lets us decide whether we can live with them or not, so this is the stage to check our build work and then sand it smooth or add putty as needed.
Paint Mixes
We don’t need to use custom paints at all but it sure feels cool to do so plus it’s secretly easy - in all seriousness, I am just mixing new colors into previous colors and hey presto, “custom mix”!
Here are the colors I want to use overall and it also helps to make mixes of them so that they work together better, once they are intermixed, there will be more harmony between the colors.
For the primary color, I started with the main color I used on this Ma.K Griffon Falke kit from Hasegawa models as there is a tiny amount remaining. Rather than start from a clean bottle, I will re-use this one and add our dominant color, Navy. I use the Tamiya tape as a guide marker for eyeballing my paint and thinner levels.
Yes I have friends that count their drops or measure their paints on tiny scales but the day I saw my teacher, Kow Yokoyama Sensei eyeballing it changed my life forever and after practising it for over a decade now, I love this approach and cannot go back!
I’ll add the secondary color in this manner too, first by spinning it up and mixing it thoroughly and then boom, that just happens to be EXACTLY the right amount to mix in! Yep, whatever was on the mixer and it’s such a wonderfully liberating way to think about paint mixing. Plus let me be upfront about this, with experience it does become easier.
Same again with white, I’d like to tune and brighten my mix up a little more and will add this beautiful gloss white paint. Yep, exactly the amount on my mixer! Then eyeball your paint and see if it makes you happy. Yes, you can do it as many times as you like, your eyes will tell you when you are right or simply fine-tune it again later. This is your process, your vision. You are always right!
Now for the secondary color on the Jesta, I have simply flipped the order. The main color in first, then the dark navy and then a touch of white and hey, perfect!
For my ID bands, I’ll use this Orange Yellow straight and for the frame and some panels, straight shots of these colors too.
There we have it, a custom yet pretty simple paint plan and it should all work together nicely and hopefully look cool.
Paint Application
Good intentions of keeping it simple and just spraying nice, even flat coats it instantly went off the rails as soon as I started slinging paint.
Spraying Navy on Black is pretty safe because you don’t see a huge difference but with the secondary color, I was all “oh this looks like a nifty pre-shade mottle” so yeah, that happened and I am full of forgiveness for myself because it looks cool and actually fits in well with my weathering plan for the dark armor plates too.
I mean, it does NOW right? Keep watching, you will see what I mean!
Please let me share something here, with my previous finish on the Drimdark Nixe, I knew exactly how I wanted it to look. I had a very sharp and clearly defined vision and the steps just kind of laid themselves out. I just needed to keep up and the result is most satisfying.
For the Jesta however, this is quite a new look and finish, a new idea. So my vision for it is not clearly defined. I have the start of an idea and what I have heard Kawaguchi-san refer to as a “blurry vision”.
This is really ok and not uncommon for me too. Sometimes I have a very sharp and fixed idea and other times just notions that I hope - gulp!- that will reveal themselves to me once I am brave enough to start down the path.
I’ve wondered if it was due to my familiarity with a genre perhaps as I am still relatively new to Gunpla but that can’t be it, I already have a very clearly formed vision for my MG Barbatos project for example but my Ma.K Luna Diver Stingray is still a little blurry.
Most interesting, as I learn more about how to express this concept I will share it with you in a future video.
Back to the Jesta specifically and here’s what I’ve done with a mixed effort airbrush finish, using the primer colors to help impart colour separation to various parts. Colour separation is a term that Bandai taught us Gunpla Builders and yes, of course, this also exists in Scale Modelling where we call it panelling or in an extreme version with directional lighting effects, Modulation.
For a much better understanding of this, I have a chapter in my Sci-Fi FAQ book that explains it well. That will be available from Nov and I will update with a link in the description for you.
For the Jesta, what I wanted it to do was break up the dark navy and make it more visually interesting and also perhaps impart a scale-up effect and help it to look a little more like a very large machine rather than a small plastic toy.
I was not expecting a great deal of difference and it’s a low level of effort experiment and just something for fun but it’s kind of a fail. It’s just not noticeable enough.
Oh well. Let’s continue with the plan to do much more in the detailing steps that should produce a much better and more interesting result.
Detailing
Waterslides
Ok, so more than calling it “weathering” I’d like to call this “detailing” because that’s what we are doing - adding more details to our finish. Yes, we can do this physically by altering the kit and we can do it with paint and effects too, Our models, Our choice!
The first step for me was to add some custom waterslides. These are from Delpi Decal and are quite nice.
I like to use a sharp craft knife and cut the backing paper juuuust big enough to carry the waterslide over and place it carefully in a small, shallow dish of tap water - face down? Facedown so that I can see the backing paper wet out and know it has saturated and I can flip it back over. These waterslides separated from the backing paper really quickly, say in 20 seconds so that’s a heads up. I pull them out of the water with some tweezers and place them face-up on kitchen paper to help absorb some of the water.
I like to pre-place a little decal setting solution first, then with my tweezers again hold the backing paper in place and gently slide the decal off with a clean, soft brush and then argue and swear it into place for far too long…. Kidding but sometimes the tiny ones can be a pain, but with practice and by choosing a “not too big” brush, I can usually wrangle them into place pretty quickly… thankfully this second one went on fact and there we go, tiny in-scale points of detail and interest. Love me some decals!
ID Band Color
One more detailing step I wanted to add was some flashes of ID band colors. The dark scheme is, of course, attractive but I love adding these and I thought you might like to see… The Reveal! You know what I mean, that moment after you have masked off a section and with much suspense, you start to unwrap it and are fully expecting to see a whole bunch runs and drips up under your tape so you only have one eye open and then…
THE HORROR!!!
Oh wait!!
The GLORY, it’s perfect.
That’s it, The Reveal. One of the most exciting but also nerve-wracking moments for me in modelling. How do you cope with the reveal and does it freak you out too?
Clear Coat
Next, let’s protect our waterslides with a clear coat. My preferences for this are semi or full gloss and yes it does slightly alter our finish, with full gloss tending to be slightly thicker and more durable and helping us to keep the finish tight.
But heads up! Humidity and temperature extremes can mess with our clear coats and yes, you guessed it, exactly when I wanted to do this we were hit with a rainy spell and the humidity was like billions and billions and billions haha, it was 90 to 100% for a couple of weeks.
So I tested it out to see how much I could get it to fog up and then how to recover to share with you.
It was actually quite disappointing, these acrylic lacquers are so forgiving and resilient. So long as I kept it a wet coat, there was no fogging at all, just a little around edges where there was a chance of mild overspray. So pro tip there for me was that if I need to do this again, I’ll make sure to get the parts back on sticks and keep it really tight & wet. Oh wow, excellent bonus innuendo moment!
To repair this, I just waited for the humidity to drop and airbrushed on wet coats of acrylic lacquer flat clear and insta-pro repaired and perfect.
APR - Acrylic Paint Rendering
Or “draw 2 ovals and then just draw an owl”. :D
Approximating my custom mix with some acrylic colors, Dark Sea Blue, Flat Black and Flat White and making some mixes of them on my fancy pants wet palette, testing out the Everlasting Gobstopper Paper this time.
It has “membrane” in the title.
Best Product Placement Ever. ;p
Eyeballing custom colors to make some sections look more beat up and interesting. The shield is a perfect victim.
Let’s use a course, makeup sponge to first apply our darker, shadow coat and freak out at all the bubbles! Haha, I’m kidding that will just happen with this kind of application and actually improve our finish believe it or not. Then mix in a slighter wetter mid-tone and then finally some highlight color, all wet on wet.
Quickly switching over to a medium-large soft brush, I’ve then applied straight water onto the surface to further blur or Boke the paint and smooth out the bubbles into a beautiful texture and finish. Oh wow, this was both exciting and fun to do and the finish is exactly what I was after, somewhat between the box art and something Master Yoshiyuki Takani san might lay down on a canvas.
After a couple more armour plates like this, using the same color mixes I’ve gentry dry brushed and accented the lighter pieces with the darker version of the paint mix and then reversed that by doing the same on the darker pieces with the lighter end of the base color mix.
This keeps the entire model and finish in harmony with it being painted completely with the same sea blue, black and white just in different places. There’s no black no white on the model at all, everything is a tone of the base blue-grey.
Most satisfying!
Oil Paints Details
Some effects lend themselves best to oil paints and although Bandai plastic is notoriously incompatible with mineral-based spirits, I’ve used some very carefully. Rul of Thumb - keep such thinners out of the joints or places where it might pool.
By using it surfaces or places like this where it can dry very quickly, we establish a bit more of a margin of safety.
We can also use a fast-drying thinner, such as the naphtha based Zippo lighter fluid. It also seems to have a lower surface tension which is perfect for glazing.
For some “space dust” effects, I’m going with Buff as a kind of close to neutral light color and as I will be glazing it with blue, it should pull it into the blue-grey tone of the model.
With my little dish propped up on a wad of blue tack, I’m adding a little chunk of the oil paint with the carrier oil drained out on cardboard. I like to work with an angled palette like this so that I have the pure paint at the top, the mix just off to the side and the thinner reservoir underneath so that I can vary and customise my paint mix as we work.
Let’s carefully place this into appropriate details to help accentuate and bring them to life.
This blue is beautiful when used as a shadow and will help bring the yellow details closer to the blue and help them photograph better too.
Some very light glazes of Starship Filth, an aptly named dark brown paint along with a couple more glazes of the dark blue to help add a little variation and interest whilst shifting some of the acrylic effects over a little more to blue. Most pleasing!
And that’s that, we are done and I love how it looks!
Hey if you are looking for a book on Sci-Fi modelling, my new Sci-Fi FAQ is out now. 428 pages of tips, product guides and techniques plus so much inspo here https://bit.ly/SciFiFAQreview
I’d like to thank my supporters on Patreon for paying me to film myself painting Giant Space Ninja Robot. If you’d like to support the channel and get access to bonus videos then visit https://www.patreon.com/paintonplastic


Got my book yet?
Feedback is amazing, check out my full review!